
This post may contain affiliate links meaning if you buy something by clicking a link, I may receive compensation. Please see the disclosure policy for more information. All opinions are 100% my own because why promote something you don't love!
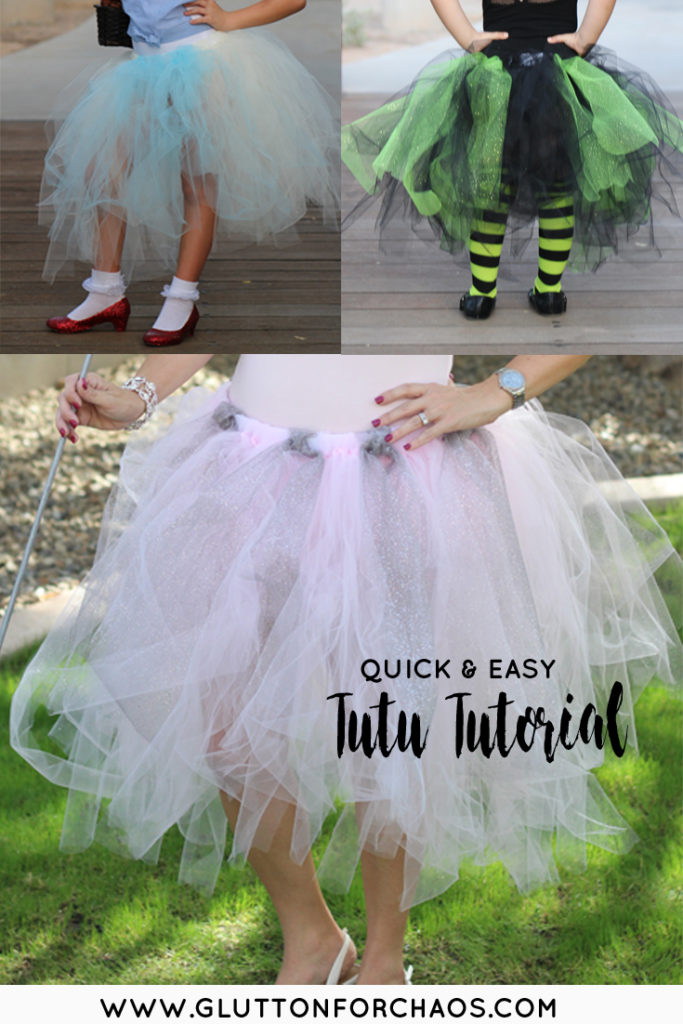
We have made a number of tutus in our day, and here is a quick and easy tutu tutorial! You can see that our examples are for our Wizard of Oz family Halloween costumes, but you could use this same tutorial to make any style or length tutu you like!
Supplies
- 1-inch Elastic or 1 to 3/4 inch ribbon (any kind)
- Self Adhesive Velcro (not needed if using ribbon) or a large safety pin would work too
- Tulle in any color you like (We use this brand because it comes in spools of 300 feet and is the most affordable through Amazon…if you purchase at Joann or Michaels or Hobby Lobby, just make sure you get enough spools)

Steps
- Measure the waist of the person who will wear the tutu.
- If using the elastic route, you will add 2 inches to the waist measurement to allow for overlap at the back of the tutu, and cut your length of elastic. This overlap will allow for the placement of the adhesive velcro (or to securely attach the safety pin if you are using that route). If you are using a ribbon, ensure the ribbon is at least 18 inches longer than the waist measurement to allow for a pretty and easily tied bow at the back of the tutu.
- Determine the length of your tutu (ie. floor length, knee length, etc.) and double that measurement.
- Take your doubled tutu length measurement and use that to measure out lengths of tulle in your chosen color or colors.
- Once you have cut all of your tulle, start to tie your lengths of tulle around the elastic or ribbon at the tulle halfway point. You can see in the photo that this can be done loosely or you can place the tulle very close together for a fuller and fluffier skirt.
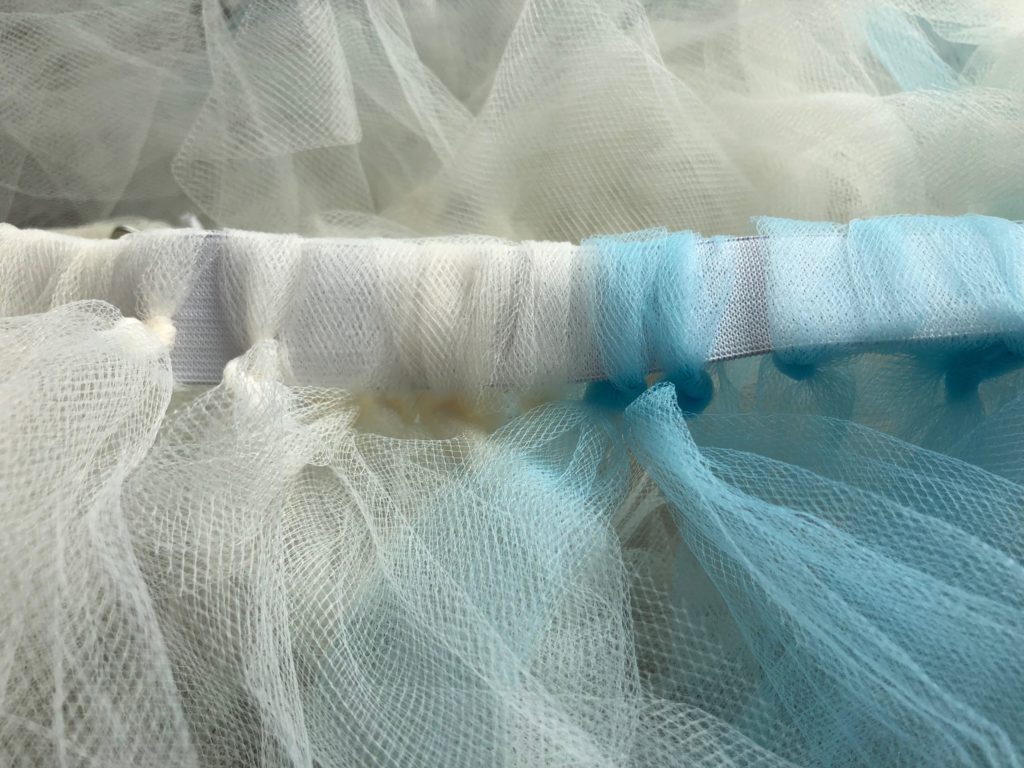
That’s it! Tie and tie and tie away until you make your way all the way around the elastic or ribbon. Velcro, tie, or pin on your little one and away you go, fancy and adorable as can be!
A bit of additional detail for our specific tutus…
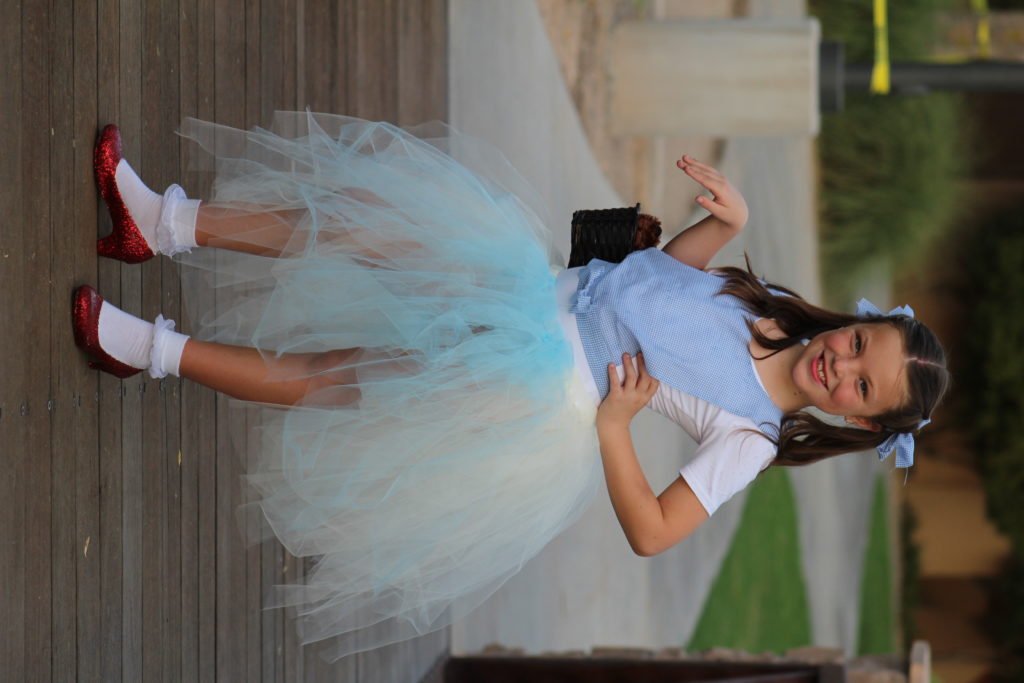
- The Dorothy Tutu has a blue section in the front so that it looks like an apron on a dress. We created this by adding 14 lengths of blue only to the front center of the elastic piece.
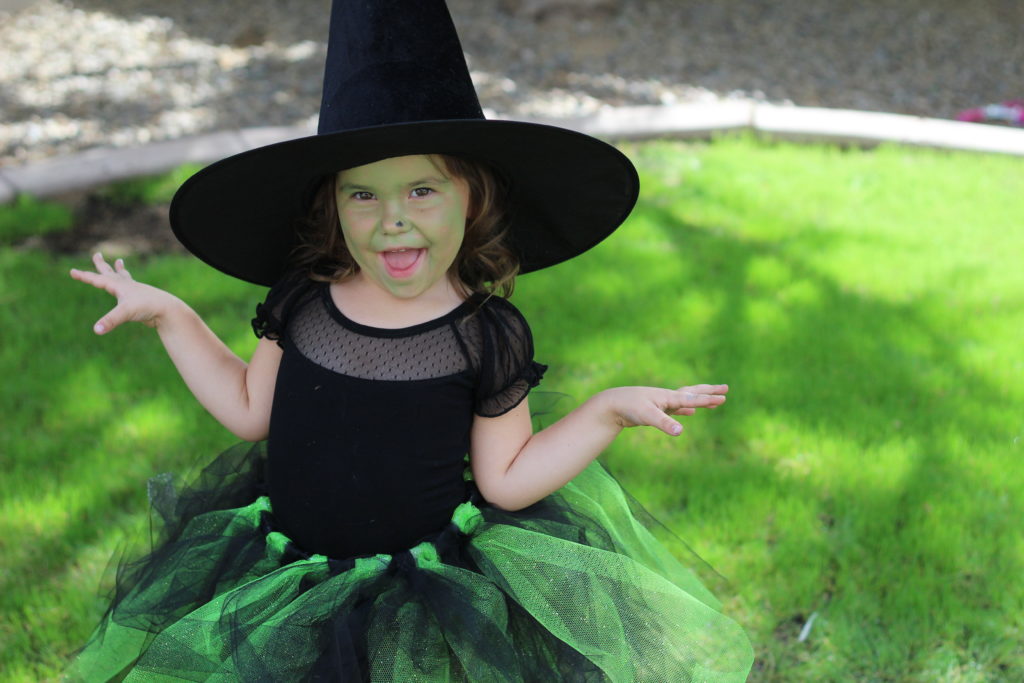
- The Wicked Witch Tutu has a sparkly green strewn in with the black. For her size, we used 6 blacks, 1 green, 6 blacks, 1 green…you get the idea. Also, if you are using glitter/sparkly tulle, the glitter WILL fall off when you are tying it and WILL get EVERYWHERE. Be warned! 🙂
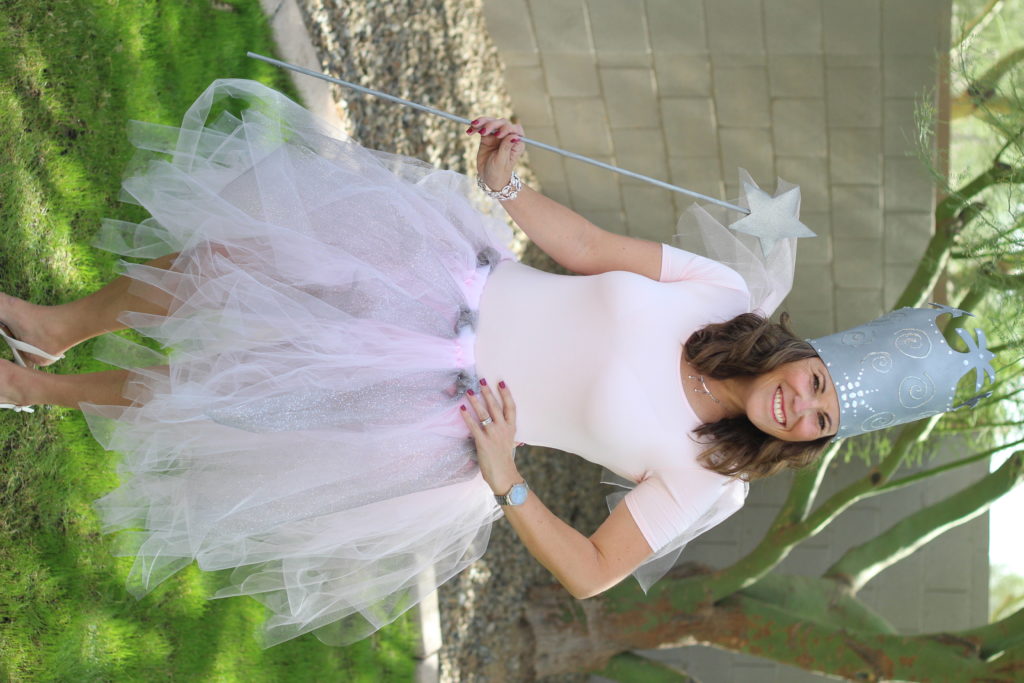
- The Glinda the Good Witch Tutu has glitter silver strewn in with the light pink tulle. The same was done as above except it was 10 pink, 1 silver, 10 pink, 1 silver…again, you get it.
Good luck! You can do this!


Pingback: Wizard of Oz DIY Family Halloween Costume | Glutton for Chaos
Pingback: Family Halloween Costumes | Glutton for Chaos