
This post may contain affiliate links meaning if you buy something by clicking a link, I may receive compensation. Please see the disclosure policy for more information. All opinions are 100% my own because why promote something you don't love!
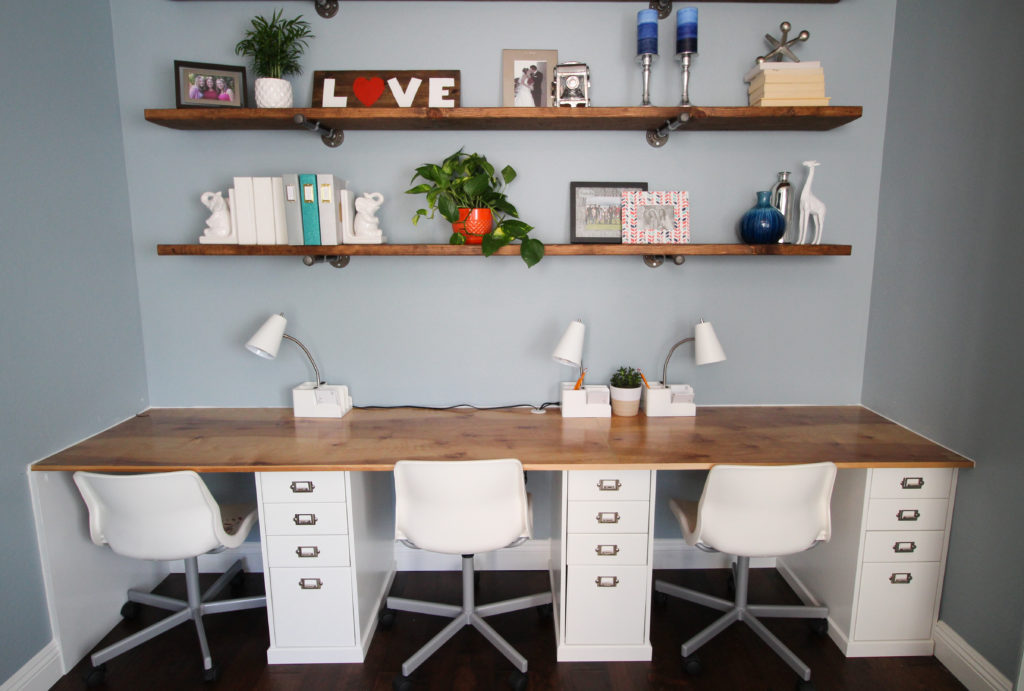
I am so excited to share my new home office including a built-in desk and shelves! Although the FULL office reveal is coming with official before and after shots—we have one more little project up our sleeves and want to share the whole space when it is completely done—I just can’t wait any longer to share the built-ins.
I know that we have already been asked about these and that you not only want to see the space but get a full tutorial on what exactly we did. Well, here we go!
Part of our vision for this space was not only to create a home office for me, since I work full time from home when I am not traveling, but to create a space for the kiddos. We wanted it to be comfortable, a space for homework or arts and crafts, and efficient on space since the room is not that big.
We also needed any changes to be affordable knowing that our house is a constant re-imagination. This room may change once again—we have lived here for 9 years and it has already been a craft room, an office, a playroom, and now back to an office—or may be absorbed eventually to expand the kitchen next door. Nothing is off the table!
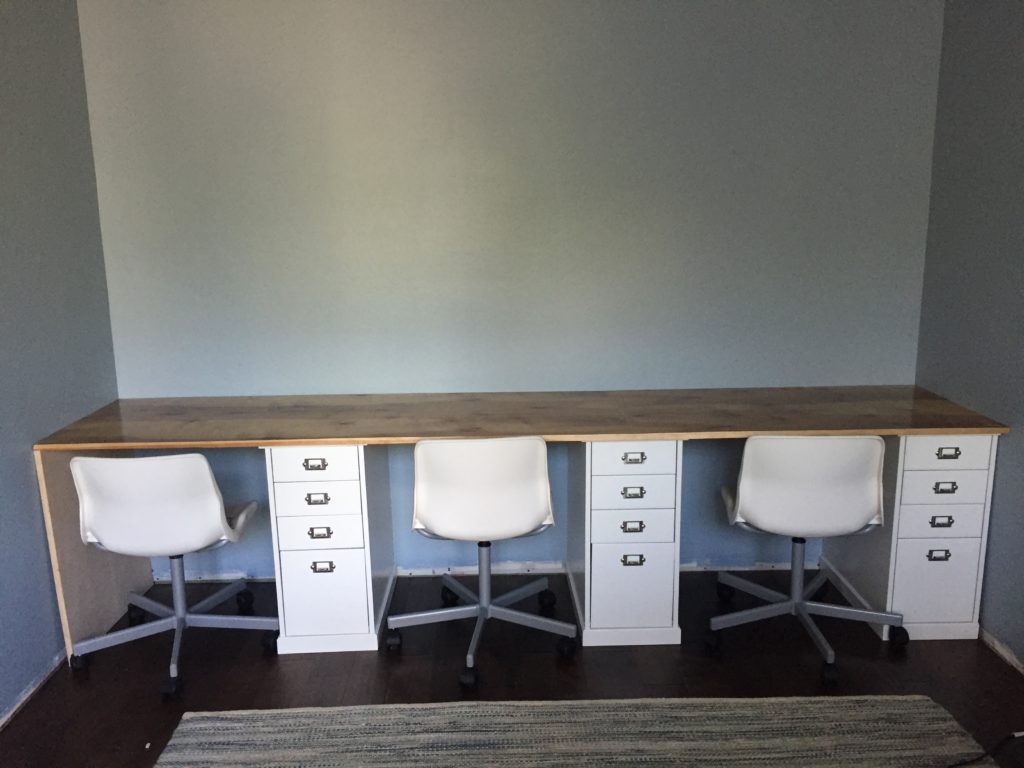
We decided that a built in on the back wall fit the bill! After measuring out the space, we determined that we should have enough wall for 3 individual desk spaces, each with their own set of drawers. We had already identified KLIMPEN filing cabinets from IKEA for the base, so that allowed us to calculate the desk space between.
Wait a minute? Doesn’t she have FOUR kiddos? Ha ha, well yes we do! We DID measure to see if we could fit four tiny desk spaces against the wall which would have been so great, but it only allowed for 19 inches in each opening. This amount of space was just too small, even with a slim chair, and didn’t give us room to grow. Right now the baby is only 13 months old and doesn’t need a desk. We figure that there is unlikely to be a time when they are ALL working at the same time, so this should still work.
[Do I think that there will NEVER be a fight over the desks? I am a mom. I am not stupid. We will figure it out.]
So, we chose the filing cabinets for the base and calculated the space for each opening. Now it was time to select the desk top and chairs! We already had one of these cute SNILLE office chairs from IKEA which are cute, have wheels, and are comfortable for the kids. They are also most affordable, so we decided to just get two more. Cheap and easy for the win!
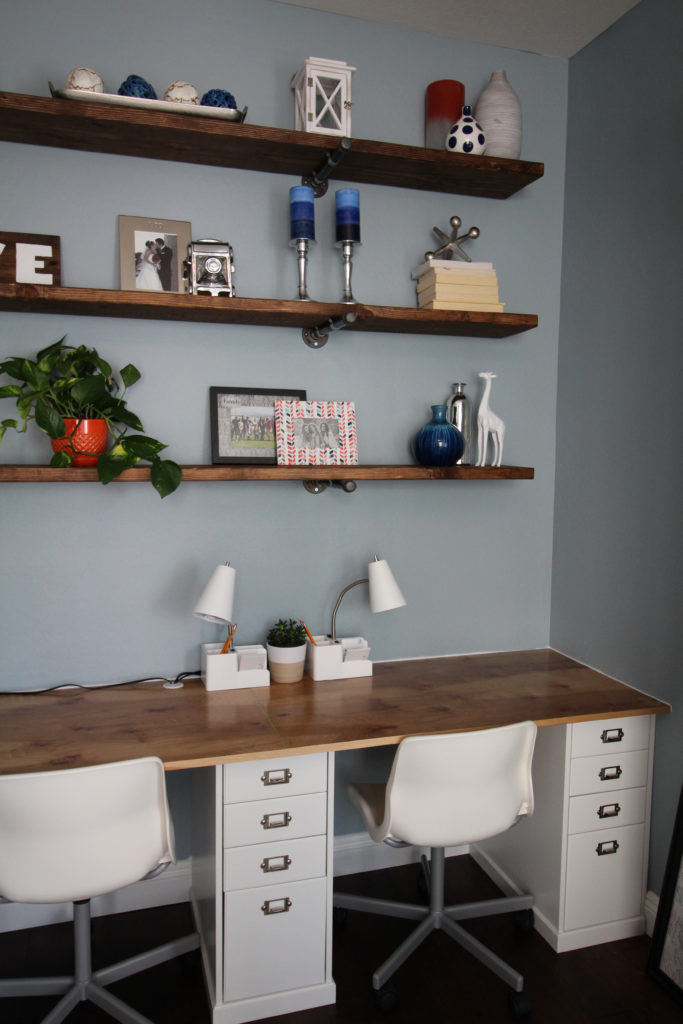
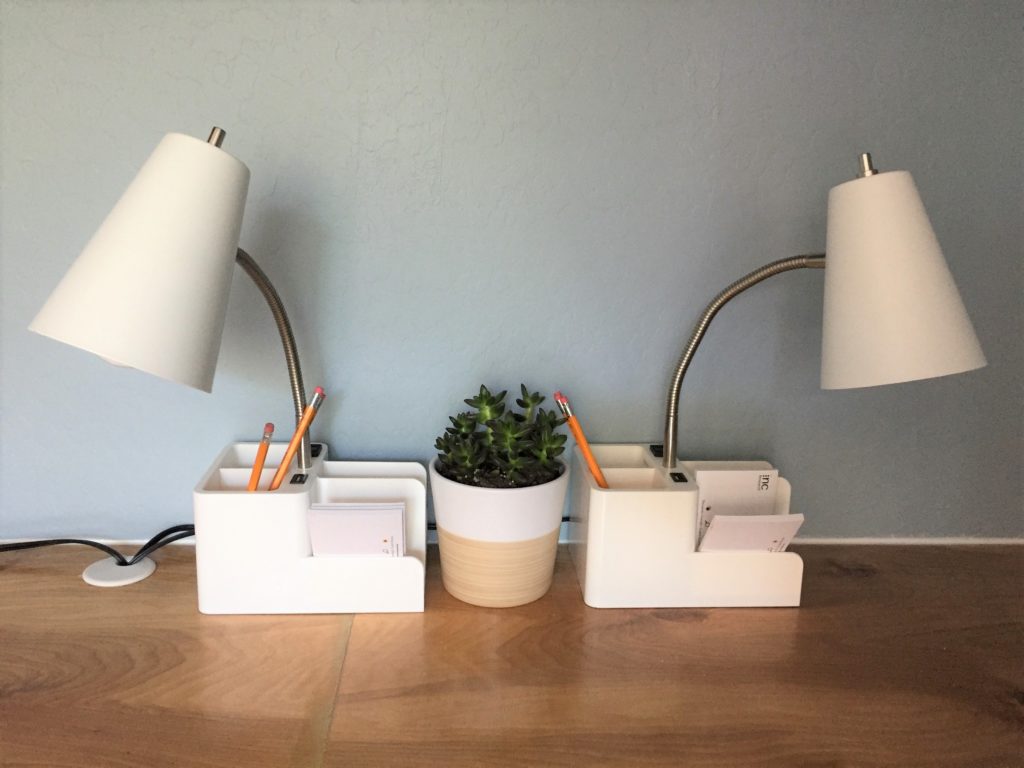
For the desk top, we selected a red oak plywood. Although we initially thought we might stain it a darker color, the wood was PRETTY. Guys, it was so pretty! It had this really nice grain and just felt warm and inviting all on its own. We decided that a few nice coats of polyurethane would be much better. It also allowed for some contrast between the chocolaty wood floors and the darker stained shelves.
With selections made and excitement through the roof, we were ready to install the desk!
We had already installed the wood floor (a bit more on that in the full reveal), but had not yet installed the baseboards. The plan was to install the filing cabinets flush with the wall so that they would appear built-in. We trimmed the rear edges of the filing cabinets and the right edge of the right cabinet using a table saw to ensure they would be a perfect fit.
The baseboards would then be installed after the cabinets to finish the look. This absolutely worked, so the very first item was placement of the cabinets after measuring to ensure they were spaced correctly (we use a 30 ft. Tape Measure that literally is used for EVERYTHING… we could not survive without it). You can see that we chose to put one filing cabinet flush with the right wall to allow for three chair spaces and three file drawers.
Next, we attached the rear support boards, which were 2x4s, to the wall, ensuring they were attached to studs. Although you can absolutely use a stud finder, like stud finder, we actually just use a big strong magnet! It is honestly easier, and we feel like it is even more accurate from our non-professional point of view. These boards would support the rear of the desk in addition to the support given from the filing cabinets as well as provide a location to attach the desk to the wall.
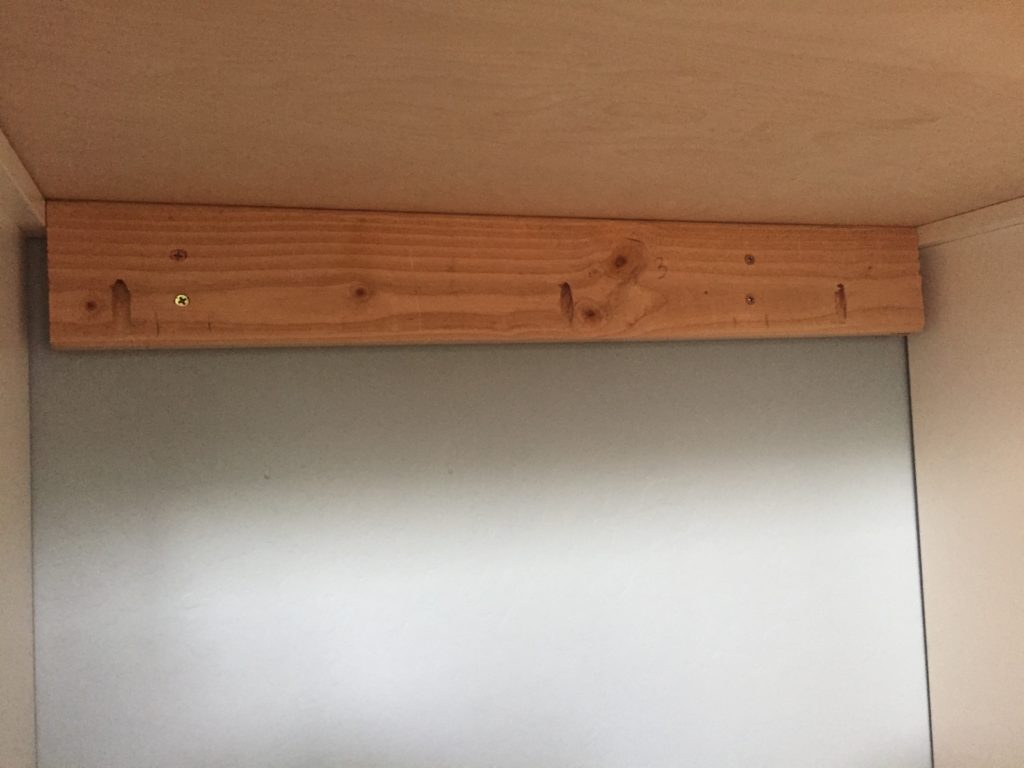
We used a kreg jig to create the holes to attach the support boards to the desk, and the screws were ½-inch pocket jig screws. The screws into the wall were straight through the boards and those were 3-inch wall screws.
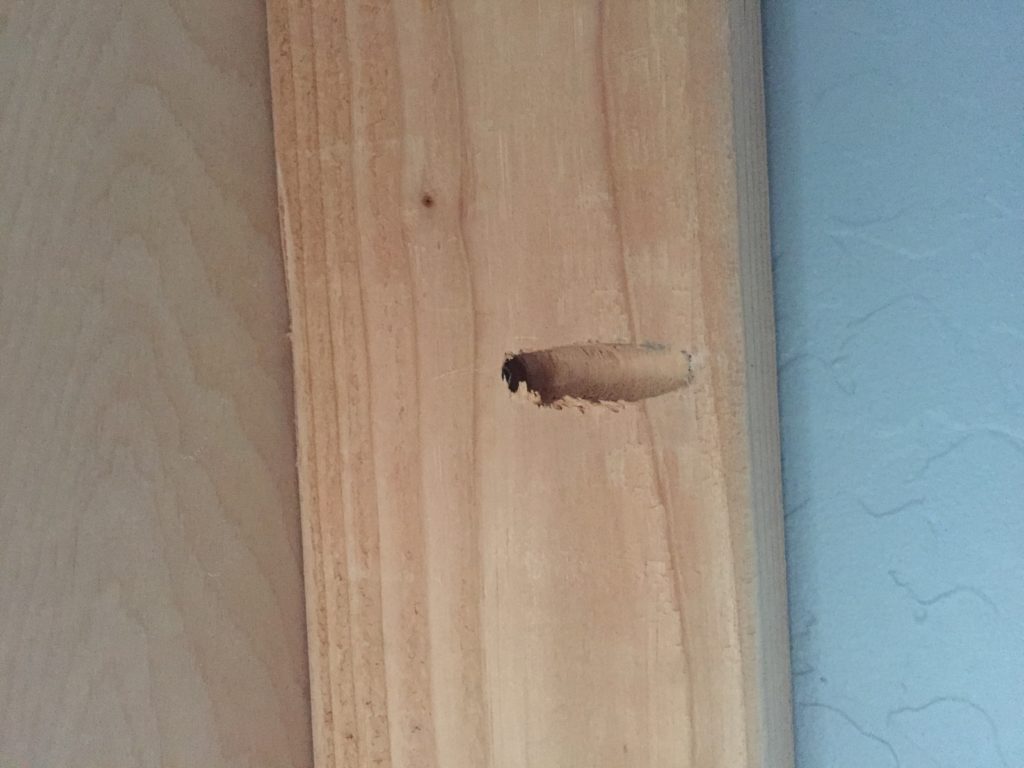
You can see in the picture the way these are set in for our space, but obviously this will depend on the way your studs are placed. To install the screws, we used our
drill for drilling pilot holes but used an impact driver
for screw placement since it works better and removes the requirement to switch bits.
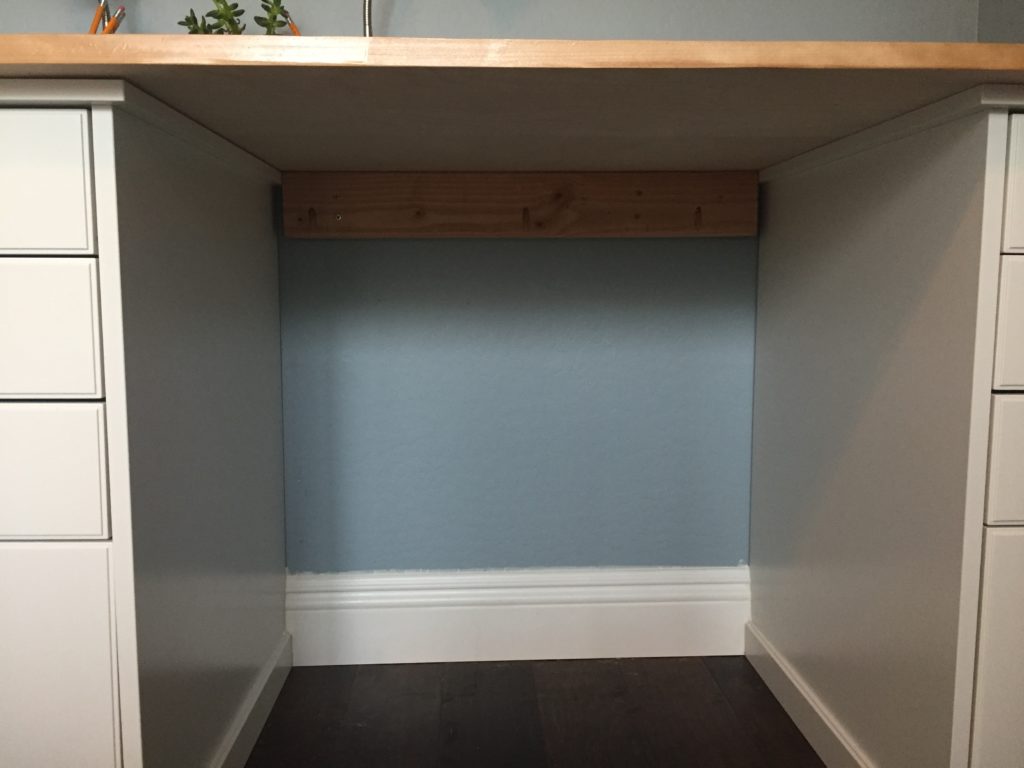
As another level of support, we installed a piece of the same plywood against the left wall. This provided both additional support to the leftmost desk space and also was painted white to continue the built-in desk look.
We are ready for the desktop! As I noted before, we did not stain the wood but instead sanded using this sander and oil based polyurethane. We chose oil based polyurethane because it is more durable for a desktop than water based. We knew there would be coloring and paint and markers on this desktop. However, it has more VOCs than water based products so does require a respirator. Keep that in mind!
First, we dry sanded using 120 grit, then 150 grit and finally 200 grit sandpaper. Before applying any polyurethane make sure to vacuum away any dust and get the final dust with a tack cloth. This prevents tiny bits of wood ending up in your coats of polyurethane and ensures the wood is perfectly clean.
After applying polyurethane, we wet sanded using a sanding tool and did this between each coat. It took 4 coats to get it to the level we wanted. It looks great, but it was a process.
For the edge, to prevent the “raw” look, we added ¾ inch wood veneer that also was sanded on the edges and coated with polyurethane. In order to attach this to the wood and activate the adhesive, we used a simple house iron and slowly traveled the length of the board.
The plywood was also not quite long enough to fit the entire wall (115 inches wall to wall). In order to make the sturdiest desk, we attached two pieces to meet centered over one of the filing cabinets and used wood filler to fill the crack. The boards were attached using pockets screws and wood glue. The wood filler was also sanded and covered with polyurethane to ensure the best match.
Once the desk top was installed, we attached it to the support boards, attached it to the filing cabinets using screws and washers, and attached it to the left support board. We made sure it was level with a 3-foot level that we have loved since we bought it for wood floor install. Is it possible to be in love with a level? We think firmly, yes!
Once completely level, the baseboards were installed in the rear wall as well as the full room in general. We got these at our local Baseboards, Doors, and More store because they are the best price for the best selection. Literally, you cannot go wrong if you are in the Phoenix, AZ area. However, there are plenty of options at Home Depot, Floor and Décor, Lowes or your local baseboard store.
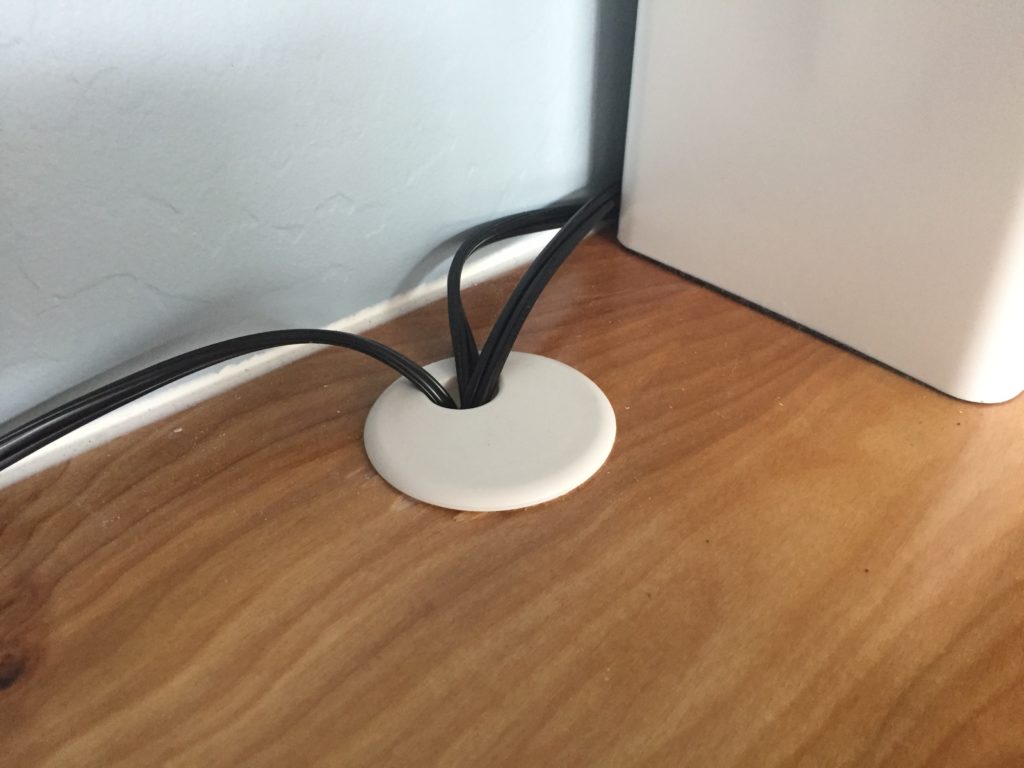
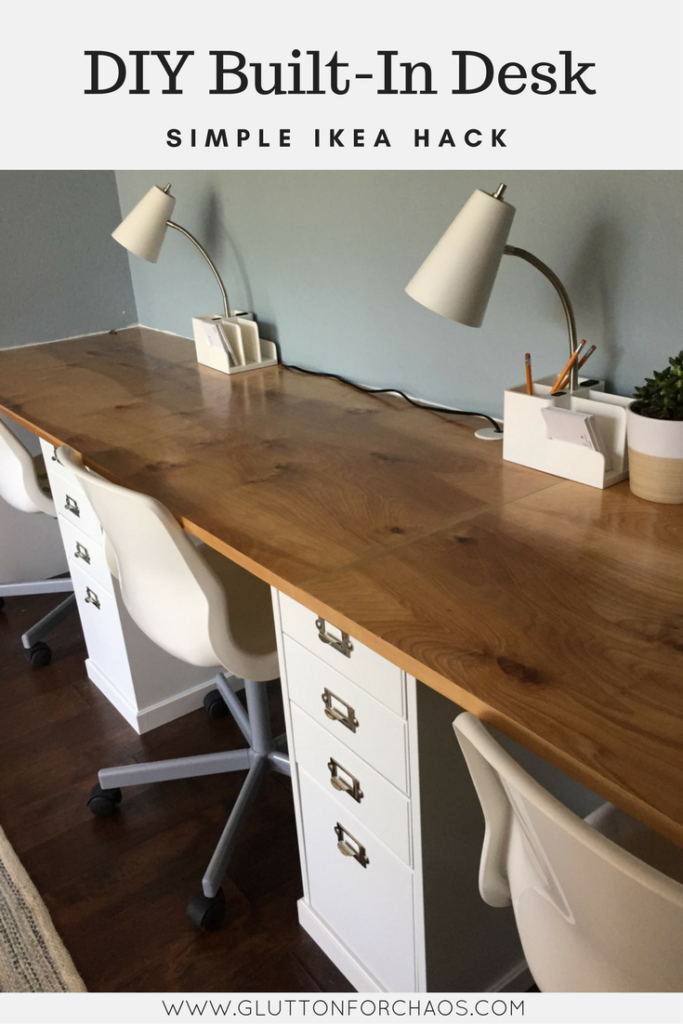
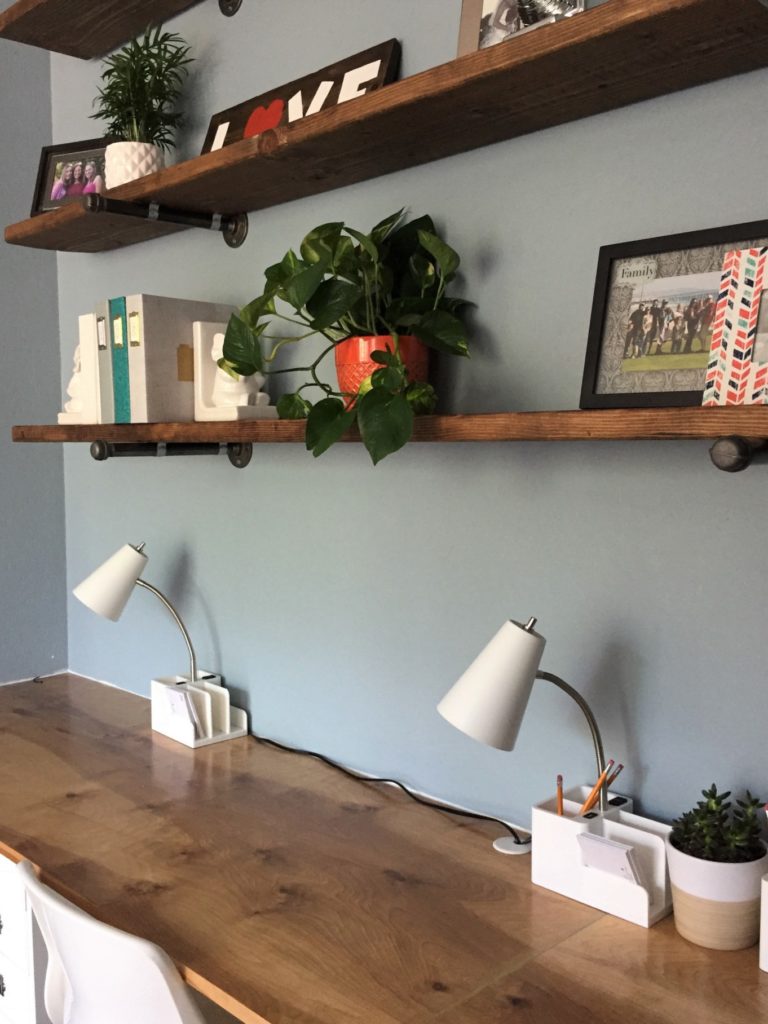
The absolute last parts were to drill out a hole for cords in the desktop and caulk. We planned to put not only lighting on the desktop but knew that eventually there may be laptops or other electronics that needed to connect to the wall. We used wood hole saw and this cover, and you can see the finished look in the photo.
We caulked the baseboard edges, filing cabinet edges and desk edges connected to the wall for a clean, finished, and final look.
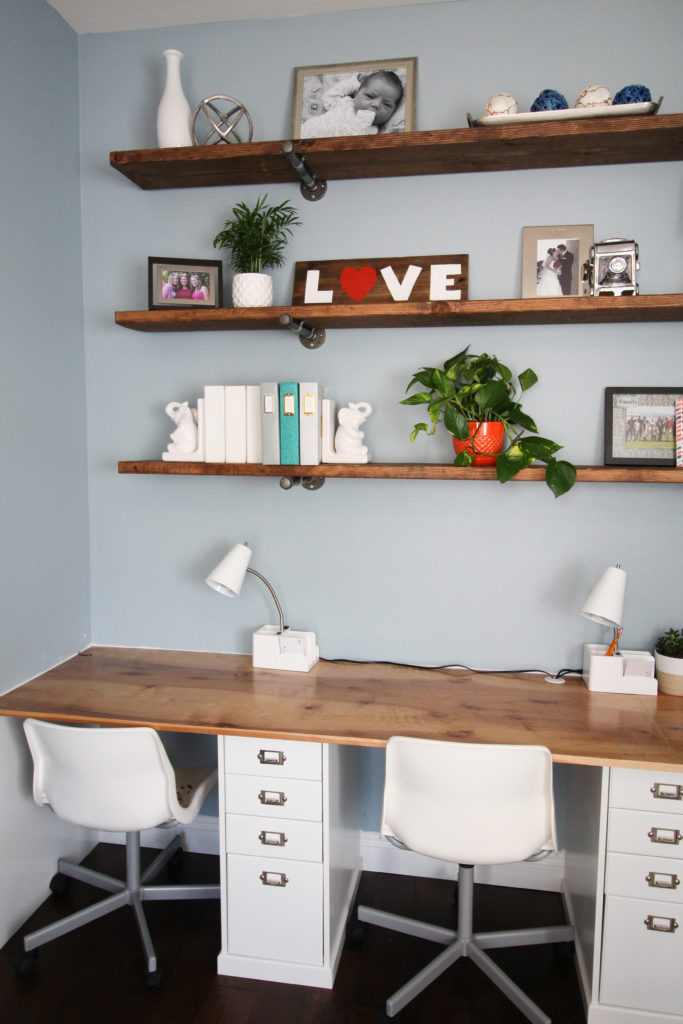
There we have it! A fantastic built-in desk so the kiddos have a perfect space for homework, crafts, and activities right with Mommy. Who can beat that!?!

Next up to share with you are the built-in shelves above the desk. They are glorious and easy as pie for even a beginner. Just you wait! You will want these in your house!
As a recap, here are ALL the supplies we used for the built-in desk project:
IKEA SNILLE rolling desk chairs
Measuring Tape (We love our 30 ft. one)
Level (We love a 3 foot one for large projects)
Clear Polyurethane
Stud Finder (or strong magnet)
White Paint
Wood Laminate Edging
Baseboard from our local Baseboards, Doors and More
2X4 Support Wood
Table Saw
3-inch Screws
½ inch Screws
Disclaimer: We are not carpenters or general contractors. We have provided the steps we used for our built-in desk project but cannot guarantee the same results in your project. We wish you luck!


Pingback: Home Office Redesign with How Tos | Glutton for Chaos
Hi I love this desk you made! Where did you buy the plywood? How thick is it?
Thank you so much! We still love it! The wood is 3/4 of an inch thick, and we bought it at our local Home Depot.
This is exactly what I was looking for in my new office setup. My question has to do with the Klimpen drawer units. The link and Ikea’s website list it as a light grey but they look pretty white in your pictures. Is it just the lighting? Would you say they are a true grey or more like a grayish white? I’d prefer white or ivory but I could work with a very light grey. Thanks for putting this together! It looks great!
Ours are definitely white, so I wonder if they changed the versions they carry after we created this layout. Thanks for the positive feedback! We still just love it!
how long is your desk top? Thanks
The desktop is 114 inches long and uses two boards connected with wood filler.